

Do you struggle to make your dishes sparkle? The dish wand might be the answer you’ve been searching for!
This guide will provide you with everything you need to know on how to make the most out of your dish wand and get stunning results every time. So, let’s get started and make your dish washing a breeze!
Using a dish wand is an effective way to clean your dishes and cookware quickly and efficiently.
A dish wand (also called a dish cleaner, washing stick, or scrub brush) is a handheld device with bristles on one side used to clean dishes. Most dish wands feature a long handle made of either plastic or stainless steel that can be used for both wet and dry cleaning. In addition, a few have replaceable heads that can be used for different functions, such as scrubbing pots and pans or lightly wiping cleaning surfaces like counters.
This guide will help you understand how to use your dish wand safely, efficiently, and effectively so you can make the most of your cleaning tool.
Choosing the Right Dish Wand
When shopping for a new dish wand, there are several factors to consider. In addition to your personal preferences, it’s important to think about things like design and the type of bristles.
For most applications, an angled brush is better than either a round or flat variety. This style of brush makes it easier to clean hard-to-reach areas like inside glassware or around spouts. Also look for stiff bristles that will help break up tough food particles, such as egg or burger residue. Finally, check the handle’s length and grip; it should be comfortable and easy to maneuver in tight spaces.

Types of dish wands available
When choosing a dish wand, it is important to understand the different types of wands available. There are three common types of wand design: Bristle Wands, Sponge Wands, and Norwex-style Wands.
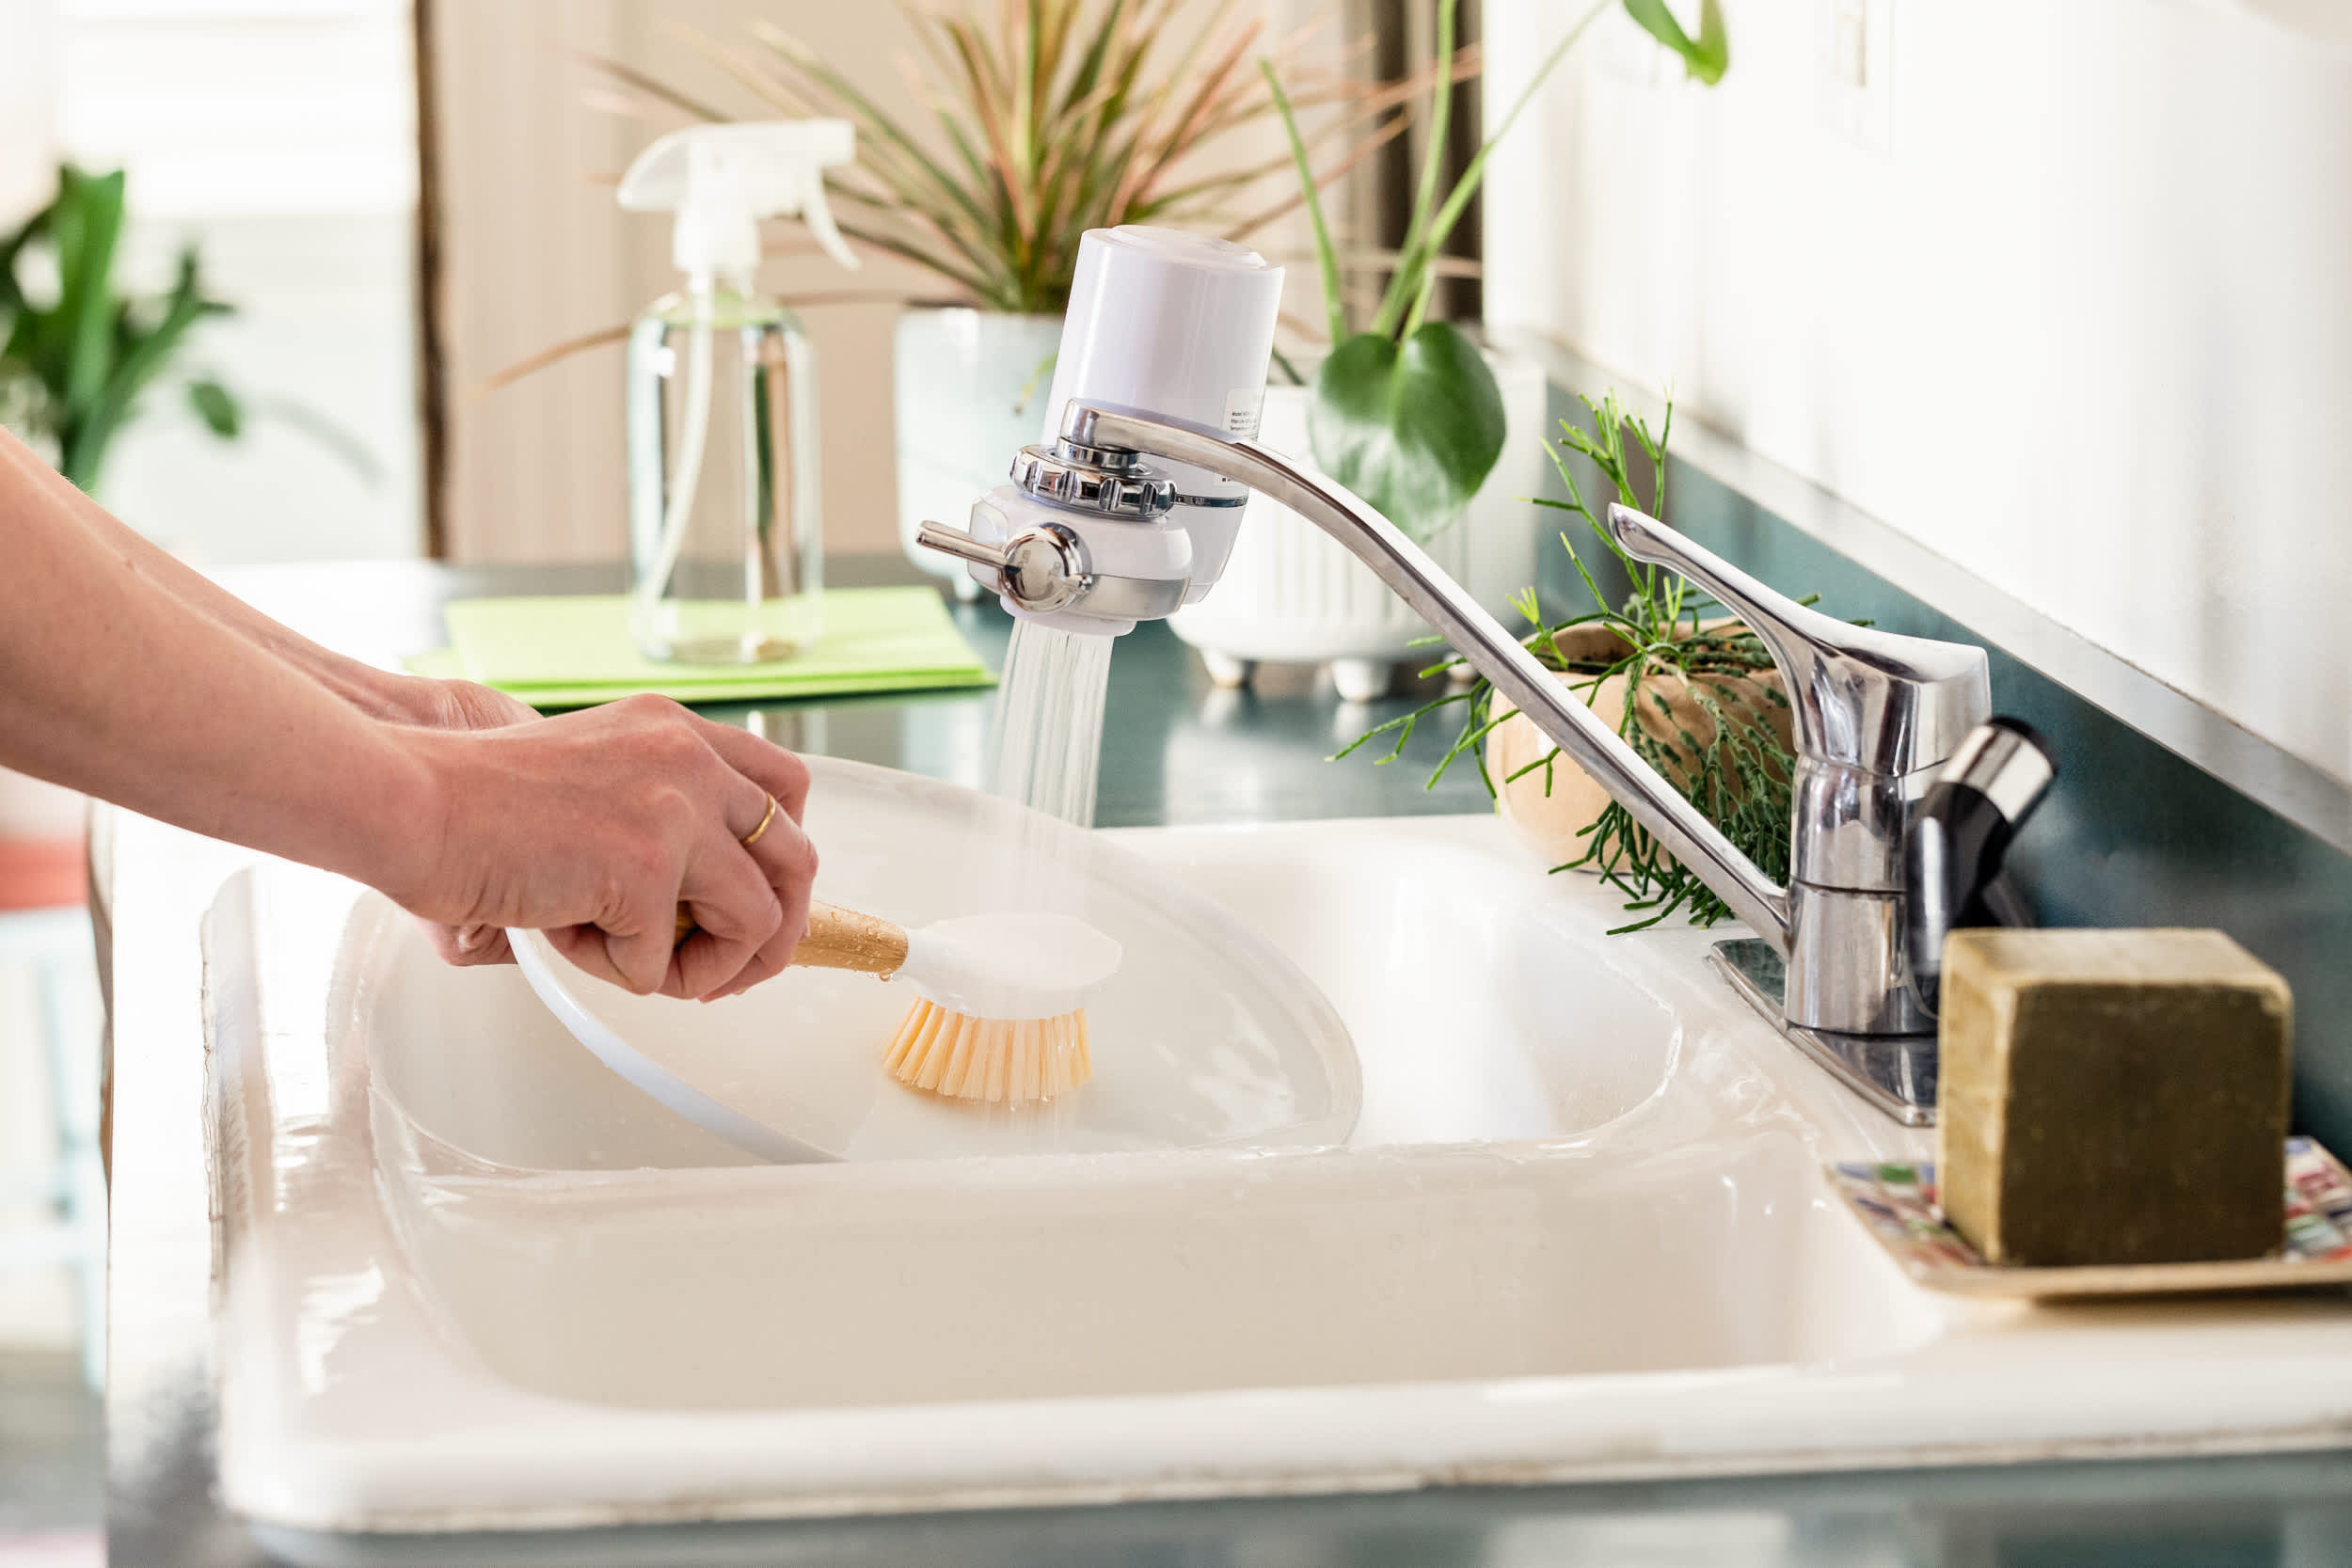
Bristle Wands: These wands feature a head filled with rigid bristles to scrub stuck-on food particles more effectively than sponge wands alone. Bristle wands are often angled and are best used on surfaces with large grime and baked-on food particles.
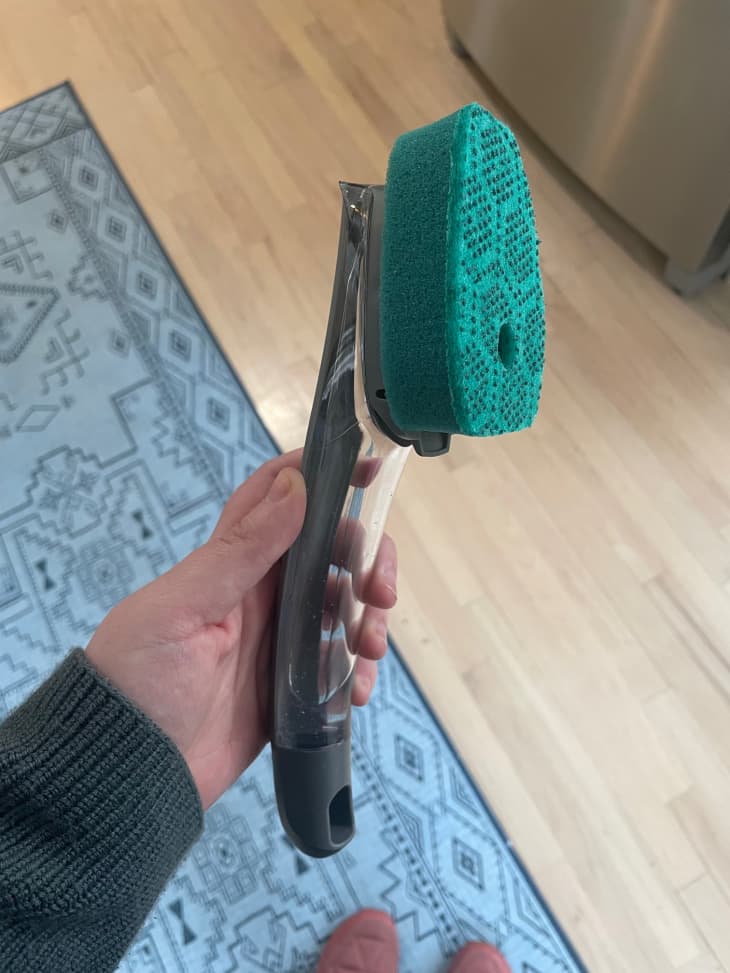
Sponge Wands: Sponge wands feature an absorbent sponge instead of the stiff bristles of bristle wands. Sponge wands are usually softer than bristle wands and therefore provide gentle scrubbing action for pots, pans, dishes, and other hard surfaces. Many sponges can be reused until replaced due to wear and tear or for sanitary reasons.
Norwex-style Wands: These styles of dishwand combine the absorbency of a sponge wand with the power of a bristle wand in a single tool – making them ideal for grease removal from hard surfaces such as countertops or stovetops in one pass.
Factors to consider while selecting a dish wand
When selecting a dish wand, there are several factors to consider. First, be sure to read the manufacturer’s instructions and follow them carefully. The type of dish wand that you choose should match the type of sink and temperature of water available. While some wands can be used with any type of sink, others require specific sinks. Furthermore, you need to know the temperature capabilities of a given wand so that it doesn’t cause damage to your dishes or kitchen equipment.
Finally, consider what kind of bristles you desire in your dish wand. Different types of bristles provide different levels of scrubbing power, depending on the weight and size of what is being washed in the sink as well as personal preference. Natural bristles generally provide a gentler cleaning process for very delicate items than synthetic materials like nylon or polyester does.
Preparing the Dish Wand
Before use, you will want to prepare the Dish Wand for your cleaning needs. This includes filling the handle with your preferred dish soap and preparing the head of the wand.
To fill up the handle of your Dish Wand with dish soap, start by submerging the bottom part under water until it is completely underwater. Once submerged, slowly push down on the black foot pedal at the bottom of the handle until you feel or hear pressure being built up. You can also open up a small lid on top of the handle to add more soap directly from a liquid dish soap bottle.
Next, it’s time to prepare the head of your Dish Wand. To do this, twist open the hard plastic head to reveal two thick cleaning sponges interspersed with durable scrub strips that help target caked-on food and other elements efficiently without having to scrape or scratch pots and pans. Rinse out what remains inside with warm water when done prepping and return both pieces back into position tight enough so that they are airtight when closed shut without being overly tight as this can damage some parts over time.
Disassembling the wand
A dish wand is a convenient tool that helps to save time and effort when doing dishes. It has many parts, however, and it can be confusing to work out how the pieces fit together. To make the most of your dish wand, you need to know how to disassemble it correctly.
First of all, make sure you have the right parts for your wand – always check the instruction manual before starting. The wand should consist of a handle, head arm and sponge attachment at one end, with a reservoir at the other end holding the liquid cleaning solution. Once you’ve established this, it’s time to begin disassembling.
Start by unscrewing the head arm until it is disconnected from the handle. This will allow access to where you fill up your liquid cleaning solution reservoir. Using a screwdriver or other tool suitable for loosening small screws, remove the screw that holds this space closed and then pull open – this will also help with removing any excess soap residue from within that area ensuring complete cleaning at an easier angle if needed.
Next unscrew any additional pieces (e.g., nozzles) from either side of reservoir if present – these might need some extra force as they have been assembled tightly since purchase which keeps them from coming loose in mid-useage during intense hand-movement activities on dishes that require more forceful application pressure for highly affected stains or accumulations on plates and bowls etcetera.. With these pieces removed, empty out any remaining liquid detergent and then reassemble in reverse order using as much force as necessary while being careful so as not damage any of its easily breakable components while doing so!
Cleaning and disinfecting the wand
Cleaning and disinfecting the wand should be a recurrent aspect of dish wand maintenance. Every time you use the dish wand, it should be rinsed under hot running water. After rinsing, take a few drops of mild hand soap or dish detergent and rub it on the sponge head. Let the sponge soak in warm water for about a minute and then rinse it thoroughly with hot running water. Use an old toothbrush to scrub off any stuck debris from the grooves of the sponge head as well as around its handle where dirt usually accumulates.
Once you are done scrubbing, rinse out all soap residue and carefully squeeze out any excess water. Allow your dish wand to air-dry in an open space or place it on a drying rack along with your other household utensils until needed again.
Maintenance and Storage of the Dish Wand
It is important to clean and store your dish wand properly. Doing so will ensure that your wand serves you effectively and remains safe and sanitary. Caring for the dish wand requires cleaning it after each use, drying it completely, and storing it in a hygienic location.
When cleaning your dish wand, make sure you use a soft sponge for scrubbing the grates or bristles of the wand since these are made of plastic or metal components that may be scratched easily. Be sure to also rinse out excess soap after using the dish wand as this can help prevent clogs due to soap buildup. Additionally, you should sanitize the sponge by running it through a boiling water bath with some added white vinegar or baking soda. After cleaning, let your dish wand air dry before storing to avoid mold growth on its surface.
You can keep your dish wand in a cupboard where it won’t be exposed to dirt or water while you wait for them to dry after washing them before use each time. It is important to make sure that no other items come in contact with it or else they may become contaminated as well. Additionally, if you have multiple sponges for different types of dishes (e.g., metal versus non-porous), keep them separated within the same cupboard to avoid cross-contamination from actively being used sponges on items like cutting boards and counters tops. Finally, regularly check for any wear and tear on both your sponges and wands—replacing them when necessary—so as not to jeopardize their effectiveness and safety when in use.
Cleaning and drying the wand after use
After each use, it is important to clean and dry your dish wand properly. Start by rinsing the wand in warm water after use to remove any food residue and soap. Then, fill a bowl with soapy water and submerge the sponge end of the wand into it. Use a soft-bristled brush to scrub away built-up dirt and food particles without damaging the material of the wand. Once this is done, rinse the wand again with warm water and hang it on a hook or place it in a way that allows air flow around it so that it can dry completely before its next use.
To further increase its lifespan, consider applying silicone lubricant onto both ends of your dish wand—this will reduce abrasion while using and make cleaning easier after each use.
Proper storage of the wand
When not in use, it is important to store the dish wand correctly to maintain its cleanliness, durability and effectiveness. To properly store the wand between uses, follow these steps:
- Before storing, it is important to make sure that any food left on the wand is removed. Use a sponge or cloth towel to gently wipe off any large pieces of food. Then, submerge the dish wand in hot soapy water to give it a thorough cleaning.
- You can also mix some vinegar into the hot soapy water when you are cleaning the wand, as this will remove bacteria and tough smells and stains that may have built up on its bristles over time.
- Once clean, rinse off any remaining soap from both inside the handle and bristles of the wand with just running water before leaving it aside to dry completely.
- Store your dish wand away from standing water or other moisture-rich areas like sinks or counters; otherwise mildew and bacteria can form within its bristles and handle over time.
- If kept for an extended period of time, you may want to consider investing in a plastic bristles cover accessory for added protection against dirt build-up or insect infestations when not in use.
Conclusion
When using a dish wand, it is important to remember that thorough cleaning relies on the physical action of scrubbing, as well as on using an effective cleaning agent. To get the best results from your dish wand, make sure to use a combination of both.
First, ensure that you have gone through all the steps provided in this guide: from correctly loading up with soapy water; to squeezing out excess water and detergent; and finally preparing the surfaces for cleaning properly. Regularly replace the sponge head if it wears out or becomes too filthy for effective cleaning.
It is also essential to use appropriate amounts of detergent to ensure adequate dirt removal without leaving behind residues that can cause chemical burns. Finally, bear in mind that temperature can sometimes help achieve better results when washing dishes with a dish wand!
FAQ’s
How do you use a dish wand?
To use a dish wand, fill the wand’s handle with dish soap and attach a scrubbing sponge or brush to the head of the wand. Wet the dishes and scrub them with the wand until they are clean. Rinse the dishes thoroughly with water after washing.
How do you hand wash dishes efficiently?
To hand wash dishes efficiently, start by scraping off any leftover food particles into the trash. Then, fill a sink or basin with hot water and dish soap. Begin washing the dishes, starting with the cleanest items first and ending with the dirtiest. Scrub the dishes thoroughly and rinse them with hot water. Finally, dry the dishes with a clean towel or let them air dry.
How sanitary are dish wands?
Dish wands can be sanitary if used properly and cleaned regularly. It’s important to replace the sponge or brush head frequently and to sanitize the wand regularly to prevent the growth of bacteria.
What do you put in a dish wand?
To use a dish wand, you should put dish soap in the handle and attach a scrubbing sponge or brush to the head of the wand.
How do you store a dish wand?
To store a dish wand, hang it up in a well-ventilated area with the brush or sponge head facing downward. This will allow it to dry completely between uses and prevent the growth of bacteria.
What’s the most sanitary way to wash dishes?
The most sanitary way to wash dishes is to use hot water and soap, and to change the water frequently when it becomes dirty. It’s also important to clean and sanitize the sink and any utensils used for washing dishes.
How do you wash dishes like a pro?
To wash dishes like a pro, start by filling a sink or basin with hot, soapy water. Pre-soak any dishes with baked-on or tough-to-remove food. Clean dishes in order of cleanliness, using a scrub brush or sponge to remove food particles and grease. Rinse each dish thoroughly with hot water and let air dry or dry with a clean towel.
What is the most water efficient way to wash dishes?
The most water-efficient way to wash dishes is to fill a sink or basin with hot, soapy water and wash all dishes at once, rather than running the water continuously. It’s also important to scrape off any leftover food particles into the trash before washing dishes.
How often should you change dish brush?
You should change your dish brush every 1-2 months or as soon as the bristles begin to fray or look worn. It’s also important to sanitize the brush regularly to prevent the growth of bacteria.
How long should you keep a dish scrubber?
You should replace your dish scrubber every 2-4 weeks or as soon as it begins to smell or look dirty. It’s important to sanitize the scrubber regularly to prevent the growth of bacteria.
See Also :
- Best air purifier permanent filter
- Best 30 pint dehumidifier
- Best anvil lopper
- Best air purifier with washable filter
- Best air purifier for baby